Thinking about installing a split AC at home?
In Dubai, a properly installed split AC is not a luxury; it is a necessity. The heat is extreme. The summers are long. And a poorly installed AC will fail faster, cool less, and cost you more in repairs.
This complete guide walks you through every step of split AC installation, from choosing the right location to powering on the system. We also cover the rules that apply in Dubai and why professional installation is always the smarter choice in the UAE.
What Is a Split AC Unit and How Does It Work?
A split AC is the most common type of air conditioning system used in Dubai homes, apartments, and offices.
It is called “split” because the system is divided into two separate units, one inside your home and one outside.
These two units are connected by copper refrigerant pipes, electrical wiring, and a drain line, all passing through a small hole in the wall.
Split ACs are preferred in Dubai because they are:
- Quiet, the noisy compressor is outside
- Efficiently, they cool a specific room directly
- Flexible, available in many sizes and capacities
- Easy-to-maintain filters are accessible from inside
Indoor Unit vs Outdoor Unit | What Each Part Does
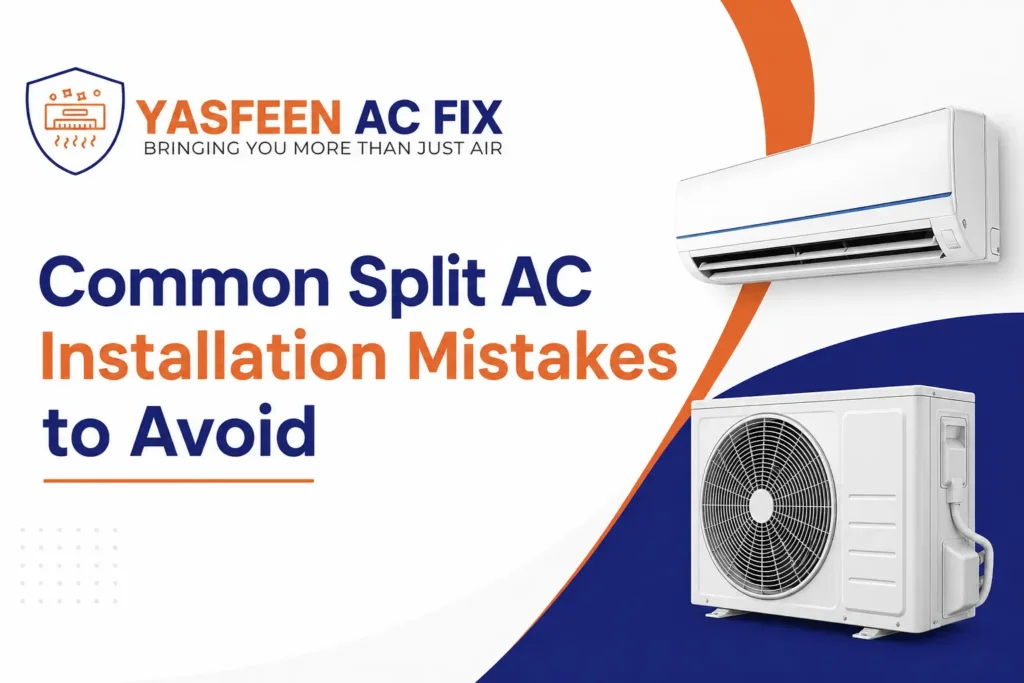
Indoor unit (evaporator): This is the unit mounted on your wall inside the room. It contains the evaporator coil, blower fan, and air filter. It absorbs heat from the room air and blows cool air back in.
Outdoor unit (condenser): This sits outside on a balcony, rooftop, or wall bracket. It contains the compressor, condenser coil, and fan. It releases the heat collected from inside your room to the outside air.
Both units must work together perfectly. A fault in either one affects the entire system.
Things to Consider Before Installing a Split AC at Home
Good installation starts with good planning. Rushing into installation without preparation leads to problems, leaks, poor cooling, and early breakdowns.
Choosing the Right AC Size for Your Room
This is the most important decision before installation.
An undersized AC will run constantly and never reach the set temperature. An oversized AC will cool too quickly, have a short cycle, and leave the room feeling humid.
AC size is measured in BTU (British Thermal Units) or tonnes.
General guide for Dubai homes:
- Small bedroom (up to 15 sqm) 9,000 BTU / 0.75 ton
- Medium bedroom (15–25 sqm) 12,000 BTU / 1 ton
- Large bedroom or small living room (25–35 sqm) 18,000 BTU / 1.5 ton
- Large living room (35–50 sqm) 24,000 BTU / 2 ton
In Dubai, always size up slightly. The extreme outdoor heat and sun exposure mean your AC works harder than it would in a cooler climate.
Also consider:
- Number of windows and their direction (west-facing rooms get more heat)
- Ceiling height: Higher ceilings need more cooling
- Number of people regularly in the room
- Heat-generating appliances like TVs and computers
Best Location for the Indoor Unit
The indoor unit position affects how evenly the room cools and how efficiently the system operates.
Ideal indoor unit placement:
- Mount high on the wall, ideally 7 to 8 feet from the floor
- Away from direct sunlight, do not install opposite a window
- Where airflow can reach the whole room not behind furniture or in a corner
- At least 15cm clearance above the unit for proper air intake
- Close enough to the outdoor unit to minimise pipe length
Avoid placing the indoor unit:
- Directly above electrical appliances or sockets
- Behind curtains or large furniture
- On a wall that faces direct afternoon sun
- Too close to the ceiling, the airflow gets blocked
Best Location for the Outdoor Unit
The outdoor unit needs space, ventilation, and a stable surface.
Good outdoor unit placement:
- Shade the area away from direct sunlight if possible
- Well-ventilated, with at least 30cm clearance at the back and 60cm at the front
- On a solid, level surface, concrete pad, rooftop, or heavy-duty wall bracket
- Not near other heat sources generators, exhausts, or other outdoor units
- Accessible for future maintenance and servicing
In Dubai apartments and villas, outdoor units are typically installed on balconies, side walls, or rooftops. Always check with your building management before deciding on a location.
Electrical and Wall Requirements in Dubai Homes
Before installation, check these critical points:
- Dedicated circuit, most split ACs require their own electrical circuit with the correct breaker size
- Voltage compatibility: UAE uses 220–240V, 50Hz. Confirm your unit matches
- The wall where the indoor unit mounts must be strong enough to hold the unit’s weight
- Concrete walls need the right drill bits and anchors
- DEWA compliance: All electrical work must comply with Dubai Electricity and Water Authority (DEWA) regulations
Tools and Materials Needed for Split AC Installation
A professional installer arrives with all the right tools. If you are trying to understand what is involved, here is a full list:
Tools:
- Power drill with masonry bits
- Hole saw (65–75mm for wall penetration)
- Spirit level
- Pipe cutter and pipe bender
- Torque wrench for flare fittings
- Vacuum pump (to evacuate refrigerant lines)
- Manifold gauge set (to check refrigerant pressure)
- Multimeter (to test electrical connections)
- Screwdrivers and spanners
Materials:
- Mounting bracket (for indoor unit)
- Copper refrigerant pipes with insulation
- Drain pipe / condensate hose
- Electrical cable (correct gauge for the unit)
- PVC sleeve for a wall hole
- Cable ties and pipe clips
- Weatherproof sealant
- Rubber anti-vibration pads (for outdoor unit)
- Outdoor unit bracket or concrete pad
Handling a vacuum pump and manifold gauge requires training. These are specialist tools not available to the general public in most UAE stores, and require proper certification to use.
Step-by-Step Split AC Installation Process
Here is the complete installation process, the same steps our certified technicians at Yaseen AC Fix follow on every installation.
Step 1 | Mount the Indoor Unit Bracket
The mounting bracket is the metal plate that supports the indoor unit on the wall.
- Use a spirit level to mark a perfectly horizontal line on the wall
- Mark the screw positions using the bracket as a template
- Drill holes into the wall, and use the correct masonry bit for concrete
- Insert wall plugs and fix the bracket firmly with screws
- Check with the spirit level again; the bracket must be perfectly level
If the bracket is not level, the drain pan inside the unit will not drain properly. This causes water to overflow and leak into the room.
Step 2 | Drill the Wall Hole
A hole through the wall connects the indoor and outdoor units.
- The hole should be 65 to 75mm in diameter, large enough for pipes, drains, and cables to pass through together.
- Drill the hole with a slight downward slope toward the outside. This ensures condensation water drains out naturally.
- Insert a PVC sleeve into the hole to protect the pipes and wires from the rough wall edge.
Important: The slope must go downward to the outside. A flat or inward-sloping hole causes water to drain back into the room.
Step 3 | Install the Indoor Unit
- Pass the refrigerant pipes, drain hose, and electrical cable through the wall hole.
- Connect them to the back of the indoor unit according to the manufacturer’s wiring diagram.
- Hang the indoor unit on the mounting bracket
- Ensure it clicks and locks into place securely
- Check that it is sitting level and stable
Step 4 | Install the Outdoor Unit
- Position the outdoor unit on a concrete pad or wall bracket
- Place rubber anti-vibration pads under the unit; these reduce noise and vibration
- Secure the unit firmly to prevent movement from wind or vibration
- Ensure the required clearances are maintained on all sides
- Check that the unit is level
Step 5 | Connect the Copper Pipes and Drain Line
This step requires skill and precision.
- The copper refrigerant pipes must be the correct diameter for your AC model.
- Pipes must be cut cleanly, no burrs or debris inside
- Flare the pipe ends using a proper flaring tool; a bad flare causes refrigerant leaks
- Connect the pipes to both the indoor and outdoor unit valves, and tighten them to the correct torque using a torque wrench
- Insulate all copper pipes; fully uninsulated pipes lose efficiency and cause condensation
- Connect the drain hose, ensuring it has a continuous downward slope so water flows out freely
Step 6 | Connect the Electrical Wiring
- Connect the power cable from the indoor unit to the outdoor unit, following the wiring diagram exactly.
- Connect the main power supply to the indoor unit
- Ensure the earth wire is connected. This is mandatory for safety
- Tighten all terminal connections; loose connections cause overheating and faults
- Install the correct size circuit breaker in the electrical panel
In Dubai, electrical connections must comply with DEWA regulations. This work should be done by a licensed electrician.
Step 7 | Vacuum and Leak Test the System
This step is critical, and it is the one most often skipped by untrained installers.
Before opening the refrigerant valves, the entire pipe system must be vacuumed.
- Connect a vacuum pump to the system via the service port
- Run the vacuum pump for at least 30 minutes
- This removes all air and moisture from the pipes
- Check that the vacuum holds a drop in vacuum means there is a leak
Why this matters: Air and moisture inside the refrigerant lines cause ice formation, compressor damage, and poor cooling. Skipping this step is one of the most damaging mistakes in AC installation.
After vacuuming, perform a pressure test with nitrogen to confirm there are no leaks in the connections.
Step 8 | Power On and Test the System
Once all connections are verified and the refrigerant valves are open:
- Switch on the power supply
- Start the AC using the remote control
- Allow the system to run for 10 to 15 minutes
- Check for any unusual sounds or vibrations
- Measure the temperature of the air coming out. It should be noticeably cooler than room temperature
- Check that the outdoor unit is running properly
- Confirm the drain is flowing correctly, and no water is backing up inside
If everything checks out, the installation is complete.
Common Split AC Installation Mistakes to Avoid
Even experienced handymen make these mistakes. They lead to leaks, poor cooling, and compressor damage.
- Indoor unit not level causes water leaks into the room
- Wall hole drilled flat or sloping inward, water drains back inside
- Pipes not properly flared, refrigerant leaks immediately or over time
- No vacuum performed, air and moisture damage the compressor
- Pipes not insulated, energy loss, and condensation dripping
- An incorrect wire gauge overheats and creates a fire risk
- Outdoor unit too close to a wall, poor ventilation, compressor overheats
- Drain pipe not sloping, water pools and overflows inside
Dubai Regulations for AC Installation: You Must Know
In Dubai, AC installation is not a free-for-all.
Key rules to be aware of:
- DEWA compliance: All electrical connections must meet DEWA standards
- Building management approval most buildings and communities require approval before drilling or mounting outdoor units
- Licensed installers in many communities in Dubai require that AC installation be carried out by licensed technicians only.
- Balcony and facade rules outdoor unit placement on balconies or building exteriors may be subject to community or municipality guidelines.
Ignoring these rules can result in fines, forced removal of the unit, or voided insurance.
Always use a licensed AC installation company in Dubai to ensure full compliance.
Why Professional Split AC Installation Is Better in Dubai
Many people consider DIY to save money. In most cases, it ends up costing more.
Risks of DIY AC Installation in the UAE
- Refrigerant handling in UAE, only licensed technicians are permitted to handle refrigerants legally.
- Voided warranty: Most AC manufacturers void the warranty if the unit is not installed by a certified technician
- Safety risk: electrical faults from improper wiring cause fires and electric shock
- Poor performance, incorrect sizing, placement, or pipe connections, reduces efficiency significantly.
- Leaks and water damage from improper drain setup cause water damage to walls and ceilings.
- Compressor damage, skipping the vacuum step, destroys the compressor over time.
A professional installation done the first time correctly is always the better investment.
Why Choose Yaseen AC Fix for Split AC Installation in Dubai?
At Yaseen AC Fix, we have been installing split AC units across Dubai for over 12 years.
Every installation we carry out follows the correct process from site assessment and correct sizing to full vacuum testing and performance verification. We do not cut corners.
Here is what you get with every Yaseen AC Fix installation:
- Certified and experienced installation technicians
- Correct sizing advice before installation
- Full vacuum and leak test on every job
- DEWA-compliant electrical connections
- All major AC brands installed Daikin, LG, Samsung, Carrier, Mitsubishi, O-General, Gree, Midea, and more.
- Proper pipe insulation and weatherproof sealing
- Drain pipe correctly fitted and tested
- Post-installation performance test included
- Residential apartments, villas, and commercial properties
- Serving all major Dubai areas, JVC, Dubai Marina, Business Bay, Downtown Dubai, Palm Jumeirah, Al Barsha, Jumeirah, Mirdif, Dubai Hills, and more
After installation, we also offer Annual Maintenance Contracts (AMC) to keep your new system running perfectly all year round.
📞 Call us or WhatsApp today to book your split AC installation anywhere in Dubai.
Frequently Asked Questions
Q1: Can I install a split AC unit myself at home in Dubai?
It is not recommended. In the UAE, refrigerant handling requires a licence, and electrical work must be DEWA-compliant. Professional installation protects your warranty and safety.
Q2: What size split AC do I need for my room?
A general rule is 1 ton per 20–25 sqm. But in Dubai’s heat, always factor in window size, sun direction, and ceiling height for accurate sizing.
Q3: How long does split AC installation take?
A standard single split AC installation typically takes 3 to 5 hours by a professional team. Larger or more complex installations may take longer.
Q4: Where should I install the outdoor unit of my split AC?
Choose a shaded, well-ventilated area with at least 30cm clearance at the back. Avoid direct sunlight and ensure the surface is solid and stable.
Q5: How often should a newly installed split AC be serviced?
Service every 3 months for filter and coil cleaning. A full mechanical service is recommended once a year, ideally before summer begins in Dubai.